Assist hooks associated with the latest speed jigs, have found favour among many pirk anglers who were previously stuck on meaty treble hooks. Here Davy Proudfoot shows just how quick and easy it is to form perfect assist hooks for attaching to the latest speed jigs.
Frantic upmarket pirk fishing might well describe speed jigging to European anglers. Vertical jigging, deep jigging, speed jigging, call it what you will, the UK has slowly embraced this modern fishing method and all the tackle variances that come with it. Speed jigs are armed with assist hooks rather than traditional large trebles… and these have proven incredibly effective.
Assist hooks are used for various reasons. Some say that fish usually attack prey at the head and the assist hook provides a barbed trap in this area. It may also be that the swinging chord used to tie assist hooks attracts fish. In my opinion, the assist hook/hooks seems to provide hook-ups which are at least as secure as the alternative treble attached to the tail of the lure. The fish is not able to use the weight of the lure as a lever and throw the hook. It also reduces the risk of the lures snagging the bottom or wreck.
Assist hooks can be fished as a single hook or in tandem. While there is a slightly better hook up rate with two hooks, it’s better to use a single if you plan to release your catch. With two assist hooks, fish tend to be caught in the mouth, while the other embeds in the side of the head or body, which damages the fish and it takes more effort to land it because you’re pulling the fish sideways.
Of course you can always buy assist hooks ready-made. Brands like Hiro, Owner, Shout and Varivas provide excellent ready-to-go hook options, but there is more satisfaction in making your own, and it’s less expensive.
The following tutorial will show you one method of producing serviceable assist hooks in easy steps. And it will probably take longer to read this than to produce the finished assist hook.
Materials required
1 x length of 1.5 to 2mm Kevlar or Dyneema cord

It should be noted that Kevlar can deteriorate if stored in sunlight. You can use high breaking strain Dacron but the aforementioned two give a stiffer hook length. The length of cord required depends upon the size of the lure. The hook point should hang within the top half of the lure. There are specific angling assist hook lines available worldwide and hopefully this will become readily available throughout Europe shortly. Until then Kevlar cord is available from suppliers of kite making materials and the Dyneema cord can be found in 30 metres and a 5 metre sample pack at Clamcleat.
1 x 5/0 or larger hook – Hook choice is very much a personal preference and there are several available from Mustad, Gamakatsu, Owner and Hiro among others. You should make sure that the gape between the hook shank and the point is wider than the width of the lure and generally short shank hook are easier to work with. I like to use the Octopus E100 from UK Hooks in 6/0.
1 x Solid Ring – Owner do an excellent version of this and any size from 6.5mm will suffice. The solid ring carries the cord and attaches to the lure. The solid version works better than a normal split ring as is does not wear the cord nor is there a risk of the cord slipping out the ring.
1 x Split Ring – Size and make is your own preference but they should be good quality.
A length of shrink tubing – This should be long enough to come down the shank of the hook as well as covering approximately 2 cm of the cord. The diameter needs to be large enough to slip over the hook eye and an overhand knot.
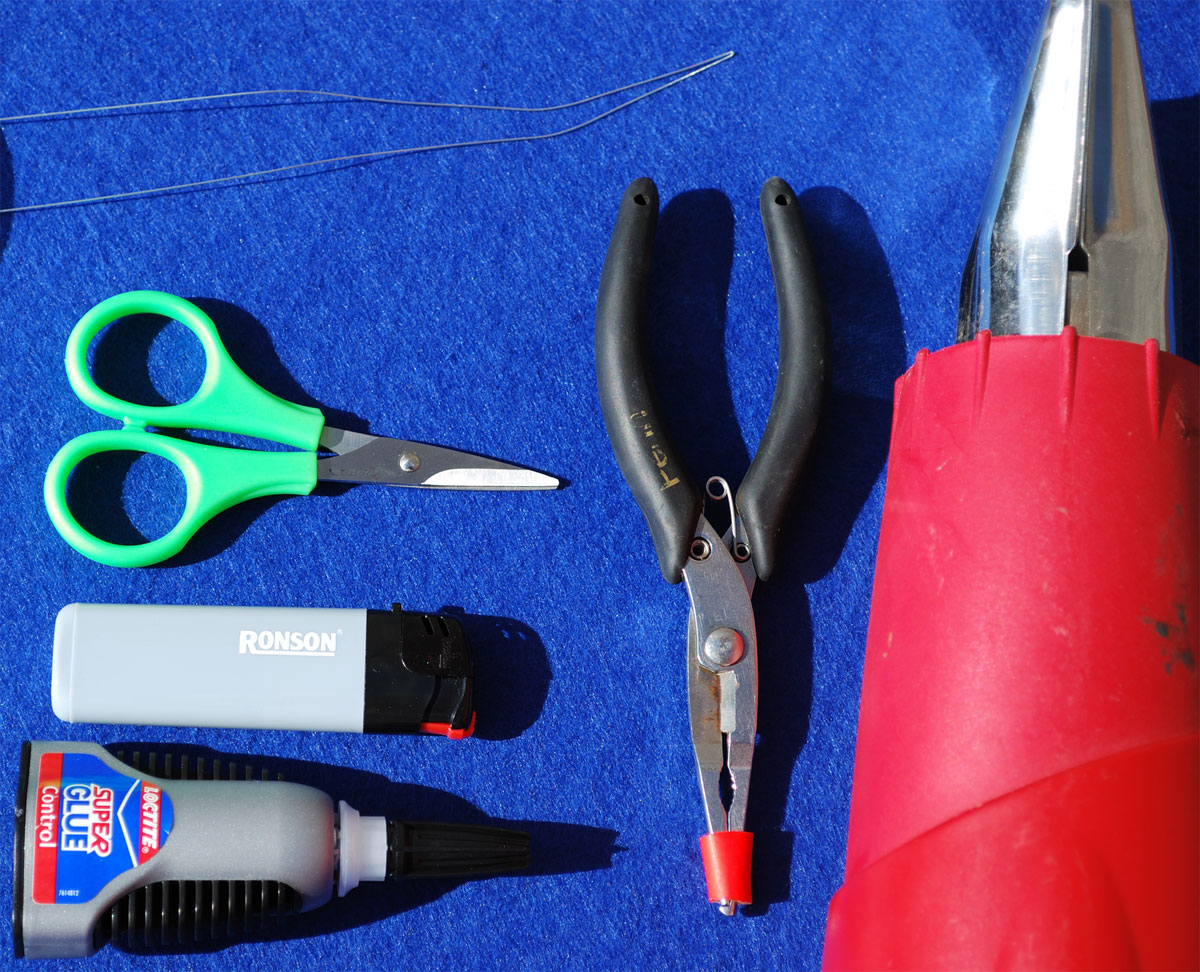
Tools Required
- Scissors
- Superglue
- Cigarette lighter
- Split ring pliers
- Hairdryer or heatgun
- A wire puller – this may be required to pull the cord through the eye of the hook. I make mine out a guitar string.
Building the Assist Hook
Follow the step-by-step photo guide below.
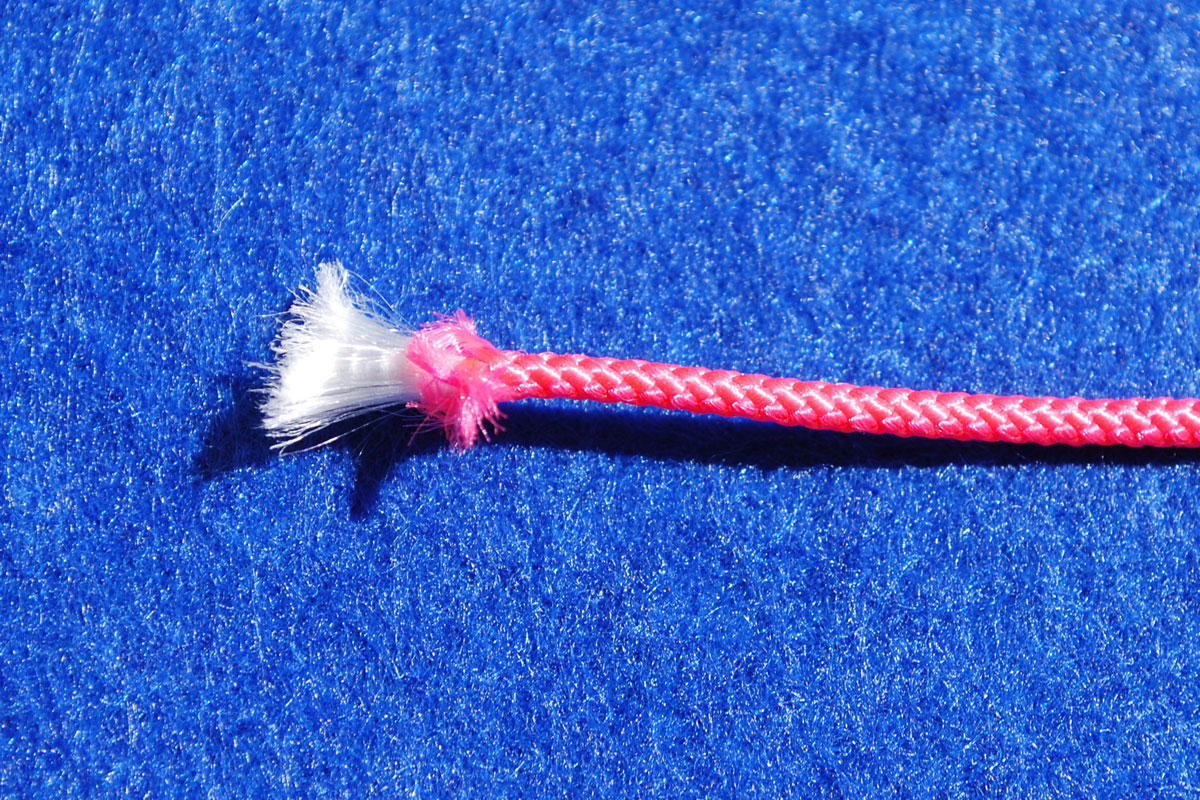
If the hook eye is a tight fit over a doubled length of cord it may be necessary to remove the inner core from the cord. Expose the end and draw the inner fibres out of the cut length of cord. This will also make the cord more supple.

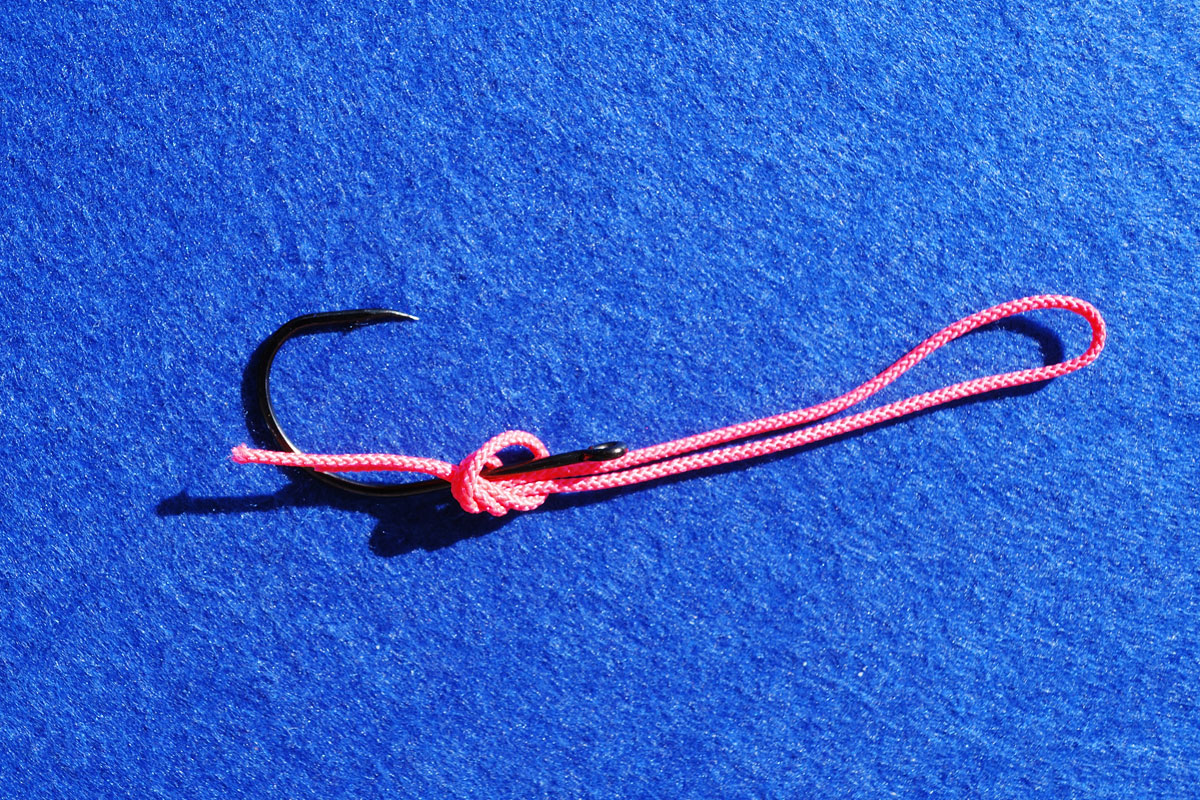
Double the length of cord and tie a loose over hand knot towards the open end. Pass the hook shank through the open loop of the knot.

Thread the cord loop through the eye of the hook using the wire puller if necessary. I normally thread from the back of the shank towards the hook point.

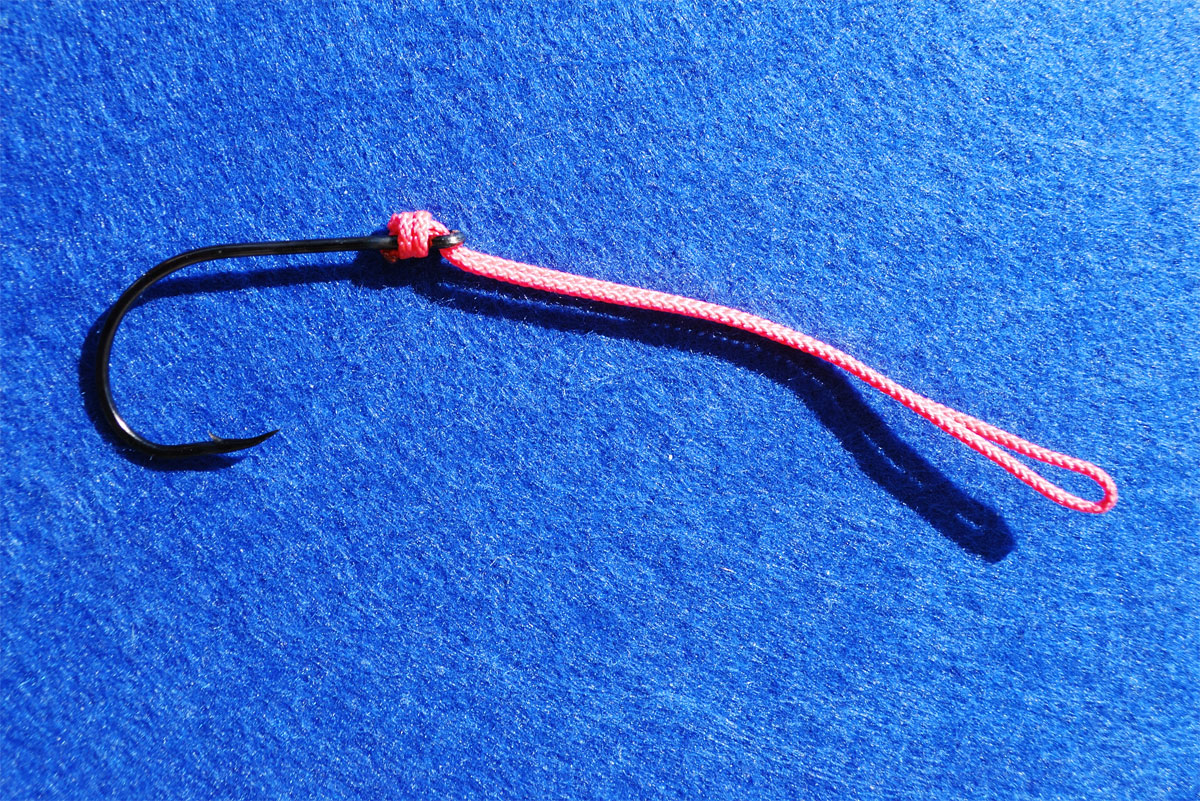
Tighten the knot down and slip it up towards the eye of the hook while pulling the loop tight. Trim the ends of the knot and seal with the flame from the lighter. Apply superglue to the body of the knot.

Slide the shrink tubing over the cord loop and down over the hook eye. With a short shank hook the tubing should come about half way down the shank.

Apply heat to the shrink tube.

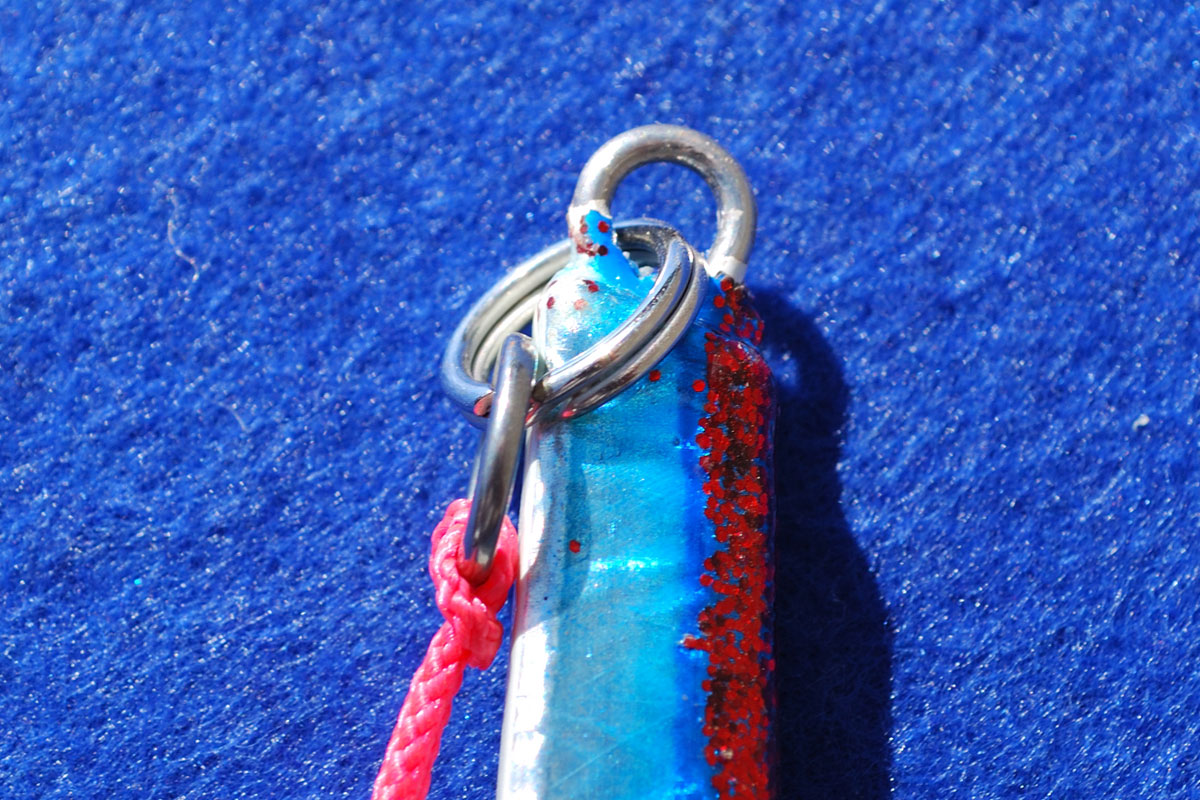
Thread the cord loop through the solid ring then back through on itself to loop on the ring.

Attach the split ring to the top of lure then affix the assist hook using the solid ring through the split ring.
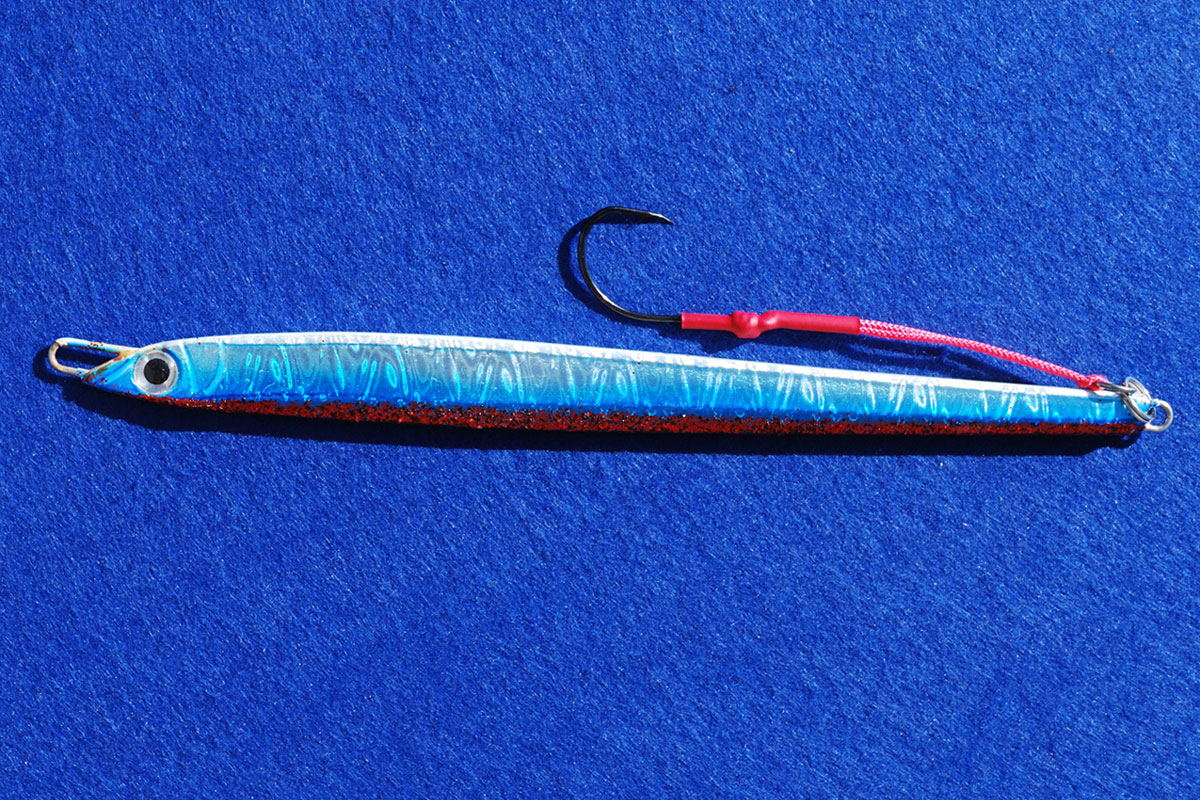
The finished assist hook attached to the jig

With a big fish trip planned next month I decided to look for a more substantial hook to use as my assist. A hunt about the web brought the VMC Faultless hook to my attention. Manufactured from Hi carbon and have a perma steel finish which helps prevent corrosion. The point is reversed, offset to the left and is turned in. The short shank terminates in an up turned eye.
Having used them on a couple of trips these hooks will certainly be used on my jigs when the bigger fish are about. The hooks are reasonably priced and available from UK-Hooks.